

BLOG

THE IMPORTANCE OF GOING BAREFOOT
How often do you take your shoes off just to feel the grass between your toes, walk around the house barefoot because you can? My guess is probably not often enough ...
Your feet are incredibly important and were designed to be mobile, otherwise you wouldn't have 26 bones in such a small body part. But feet that sit in shoes all day long (particularly high heels, steel-capped boots or any heavy, high-ankle or thick-soled shoe) are not happy feet. They need to breathe and have the freedom of movement.
Because of the amount of nerve endings found in the feet (more per square centimetre than any other part of the body) , they're your gateway to proprioception (awareness of where your body is in relation to space). So imagine if your feet were stuck in thick-soled, flat shoes all day, not knowing if there was a need to alter your movement due to uneven ground, inclines, declines or changes in temperature. These are all important messages that should be received through your feet, but when they're constricted within shoes, the brain doesn't receive the feedback.
Stiffness in your feet can eventually affect muscles and joints higher up in the kinetic chain, like ankles, knees, hips and spine. Paying attention to and exercising your feet can change pain experiences in other areas of your body...never underestimate the importance of happy, healthy feet! Here are three things you can do to reclaim your feet.
1. Mobilise your feet.
Using a tennis ball, golf ball or a posture pro (as seen in picture), gently apply pressure to the bottom of the foot and roll back and forth along the whole arch, targeting any areas of tenderness. This can be done in sitting or standing. Spend at least one minute working on each foot, if not longer.
2. Get your feet moving.
Though they seem simple, these foot mobility exercises can make a huge difference. Try any of the following:
Spread your toes apart, then squeeze them together.
Point your toes, then flex.
Point your foot up from the ankle, lift it up a few inches and move it side to side, making small circles with your foot one way, and then the other.
If your feet and toes are really stiff and you struggle to connect with them, use your fingers between your toes to help get your feet moving!
3. Take your shoes off.
Spend as much time as you can barefoot. Walking your dog in the park, doing chores around the house, train barefoot in the gym...anything that re-connects your foot with the ground.
Try it! Your feet will thank you. You'll gain more mobility, stability and, if you're someone who suffers from repeated ankle sprains, you'll definitely benefit from a barefoot lifestyle as your ankles are clearly trying to tell you something!

THINK TWICE BEFORE YOU BELT UP!

More often than not I see loads of guys and girls donning the weight belt during lifting sessions, regardless of whether it is a heavy strength session or a metcon that is being carried out.
When did the weight belt trend begin and what knowledge have we gained since then?
Do you even know WHY you are wearing a belt if you are someone who puts one on habitually before each session?
I have tried to breakdown an article by Paul Chek on the subject to highlight the most important points made. I strongly advise anyone with an interest in prolonging their low back health or anyone currently using weight belts regularly to read the full article here.
Weight belts have been known to be used as far back as the early 1900's, with no clear reasoning behind the reason for their use. It may have been in line with medical trends back then to use corsets as a treatment for scoliosis and back pain?
These days there has been much research into the area of lower back stabilisation and low back pain resulting in a much more in depth understanding of the stabilising system of the spine.
Cue The Inner Unit & The Outer Unit…

The Inner Unit consists of A) Transversus Abdominis (TVA) & posterior fibres of Obliquus Internus, B) Diaphragm, C) Deep Multifidus, D) Pelvic Floor Musculature.
These muscles play a vital role in lower back stabilisation! A study carried out in 1999 concluded that in people without back pain, the TVA fired 30 milliseconds (ms) prior to shoulder movements and 110 ms prior to leg movements. During each variation of movements performed within the study there was still synergistic (muscles working together to perform a movement) recruitment of all inner unit muscles. It was noted that regardless of movement plane or pattern of the subjects, the TVA muscle appeared relatively consistent in its activation pattern. Researchers propose that the nondirectional, specific activation of the TVA relates to the dominant role played in providing spinal stiffness.
"The TVA, in concert with other inner unit muscles (Figure 1), activates to increase stiffness of spinal joints and the sacroiliac joints (6,7,15). Activation of the inner unit provides the necessary stiffness to give the arms and legs a working foundation from which to operate. Failure of the TVA to activate 30-110 ms prior to arm or leg movements respectively has been correlated with back pain and dysfunction (6, 16). The inner unit is part of a system of stabiliser mechanisms, all of which are dependent on the integrated function of all inner unit muscles." - Paul Chek
Couldn't have said it better myself!
The Outer Unit consists of many muscles such as the External Obliques, Internal Obliques, Erector Spinae, Latissimus Dorsi, Gluteus Maximus, Adductors and Hamstrings working together with the inner unit to achieve co-ordinated movement.
Here is a simplified version of the inner/outer unit systems. Using a pirate ship’s mast as a human spinal column. While the inner unit muscles are responsible for developing and maintaining segmental stiffness, the bigger muscles, shown here as guy wires, are responsible for creating movement.
The Inner and Outer Units Simplified

The outer unit muscles of the trunk demonstrated here are (A) rectus abdominis, (B) internal and external oblique, (C) erector spinae; the outer unit actually contains other muscles, which have been excluded for simplification. The inner unit, which contains all the muscles demonstrated in Figure 2. is demonstrated here as (D); the multifidus acting as segmental stabilizers for the purpose of controlling joint stiffness. To tighten the guy wires (A-C), which provide gross stabilization of the ship’s mast without synergistic tightening of the segmental stabilizers (D) would obviously result in increased potential to buckle the mast. The mast represents your spine!
"Recruitment of trunk stabilizers via EMG with and without a weight belt has been studied. These studies concluded there was increased recruitment of the erector spinae and rectus abdominis when wearing a belt. Now that you understand the workings of the inner unit, it should be evident that by recruiting the larger, gross stabilizers without proportionate recruitment of the inner unit musculature responsible for regulating joint stiffness, the result could certainly lead to spinal joint dysfunction or exacerbate an existing condition. It is also likely that prolonged use of weight belts will result in coordination problems within the inner unit muscles and among the inner and outer unit systems." - Paul Chek.
Now, all this said, if you are someone who regularly relies on a weight belt and this article opens up your eyes into entering the world of being Back Strong & Beltless. Please refer to Part 3 of the article where Paul will talk you through the safe and necessary steps to take in order to wean yourself off the belt. Your current movement patterns will be reliant on your weight belt and getting rid of the belt all of a sudden will no doubt result in injury. Wean yourself off slowly and carefully and get your internal weight belt working for you instead! Just as nature intended! :-)
All references can be found on Paul Chek's full article.
NO. 2 OF OUR TOP 4 AB EXERCISES: FITBALL ROLLOUT OR TRX ROLLOUT
Fitball and TRX rollout exercise. A great way to functionally train your abs and improve core stability!
Want to train your ABS in an efficient, functional way?
As mentioned in the previous Sit-up post, you all know (unlike most personal trainers), I am no fan of traditional sit-ups. So here is the second of 4 alternatives that will hit your abs hard and give you that burn that you probably desire. As well as increase the function of your core area if done correctly.
No. 2 in our top 4 ab exercises
2. ROLLOUTS:
A great way to train your abdominals and work on core stability.
Using either a fitball or a TRX, kneel down, if using a fitball then place your hands on the ball about a foot or two in front of you. If using a TRX then grip the TRX about hip level. Slowly reach out (either rolling the ball out or letting the TRX push forward) whilst locking out your hips (you should feel your gluts & abs engage) so your knees; hips; shoulders are in a straight line.
Only go as far as you can without feeling any discomfort in your back, if you do, then back off a bit. Don't think you have to rollout all the way, start small and progress. You should be feeling it in your abdominal region.
Roll out and then back again for 1 rep, see how you go with the reps to determine where to start...don't push it at first though, only do what is comfortable and build on that. I'd suggest holding a good breath on the way out and breathing out as you come back to the start position.
Give it a go! :-)
LEARN HOW TO TRAIN SMART!
JOIN US AND TRAIN ONLINE USING OUR VERSATILE APP!
YOU WILL LEARN THE FUNDAMENTALS OF MOVEMENT AND HOW TO EXERCISE SMART.
PROGRAMS THOUGHTFULLY PUT TOGETHER BY A PHYSIOTHERAPIST QUALIFIED PERSONAL TRAINER.
GETTING YOU ON THE ROAD TO FITNESS SAFELY AND EFFECTIVELY!
WHAT'S IN A SIT-UP?
A very clever and informative video clip showing the muscles used in sit-ups.
PLEASE NOTE I WOULD NOT RECOMMEND DOING THE FULL SIT-UP VERSION!

So your personal trainer gets you to do sit-ups to "strengthen" your abs and get that six-pack. And you think it's gonna happen...
Think again!
The majority of the population are walking around with dysfunctional abdominal muscles which means that they either have a sequencing problem with the muscles that function to create flexion at the spine and hips or that they have an imbalance in strength/function of these muscles. Or both, which is often the case.
This only leads to one outcome - increased pressure on the lumbar discs
Yip, not a six-pack, not strong abs but more than likely a disc herniation somewhere down the track. It could take weeks/months/years to develop.
I refuse to let any of my clients do sit-ups and refuse to do them myself for the above reasons. There are multiple exercises out there that are heaps more effective than the sit-up in improving abdominal function/strength and they are 100x safer!
The curl up is an acceptable exercise if only your shoulders leave the ground and you exhale as you crunch, think about drawing your lower ribs towards your pelvis. Don't pull on the back of your neck but just support it loosely with your hands.
Even more ideally, I have my favourite Top 4 abdominal exercises I like to use in order to safely and effectively develop a functional central stability system.
if you want to LEARN some great functional ab exercises and HOW TO TRAIN SMART!
JOIN US AND TRAIN ONLINE USING OUR VERSATILE APP!
YOU WILL LEARN THE FUNDAMENTALS OF MOVEMENT.
PROGRAMS THOUGHTFULLY PUT TOGETHER BY A PHYSIOTHERAPIST QUALIFIED PERSONAL TRAINER.
GETTING YOU ON THE ROAD TO FITNESS SAFELY AND EFFECTIVELY!
how to make bircher muesli
So simple, yet so tasty!
Serving size: 1 (adjust accordingly)

pour 1/2 - 1/3c of raw organic oats into a tupperware
pour apple juice (or any apple and other fruit combo, my fav is apple & ginger or apple & guava) over, just enough to nearly cover the oats
add any extras you desire such as a handful of goji berries; cinnamon; chia seeds (my chosen picks)
gently mix with a fork to make sure the juice has mixed with the dry ingredients, cover & soak for at least one hour in the fridge or if making in the morning just put it in the fridge at work when you arrive.
in a seperate container add 1/2c of organic yoghurt, this is to mix in with your oats once you are about to eat it.
feel free to add nuts/berries or any other fruit to it just before eating...ENJOY! :-)
DOWNLOAD OUR free sweet treats recipe EBOOK BELOW...
This great little information packed ebook not only contains a wide variety of 12 different recipes, but also has a stack of information on the truth behind fats; how we need to form good food habits for our kids and the 10 essential ingredients you need to keep in your cupboard to always have a healthy treat option available to you.

Sweet Little Things - Healthy Treat Recipes
This great little information packed ebook not only contains a wide variety of 12 different recipes, but also has a stack of information on the truth behind fats; how we need to form good food habits for our kids and the 10 essential ingredients you need to keep in your cupboard to always have a healthy treat option available to you.
GET YOUR DOWNLOADABLE 6 WEEK LIFESTYLE GUIDE EBOOK. ALL YOU NEED TO GET YOU BACK ON TRACK!

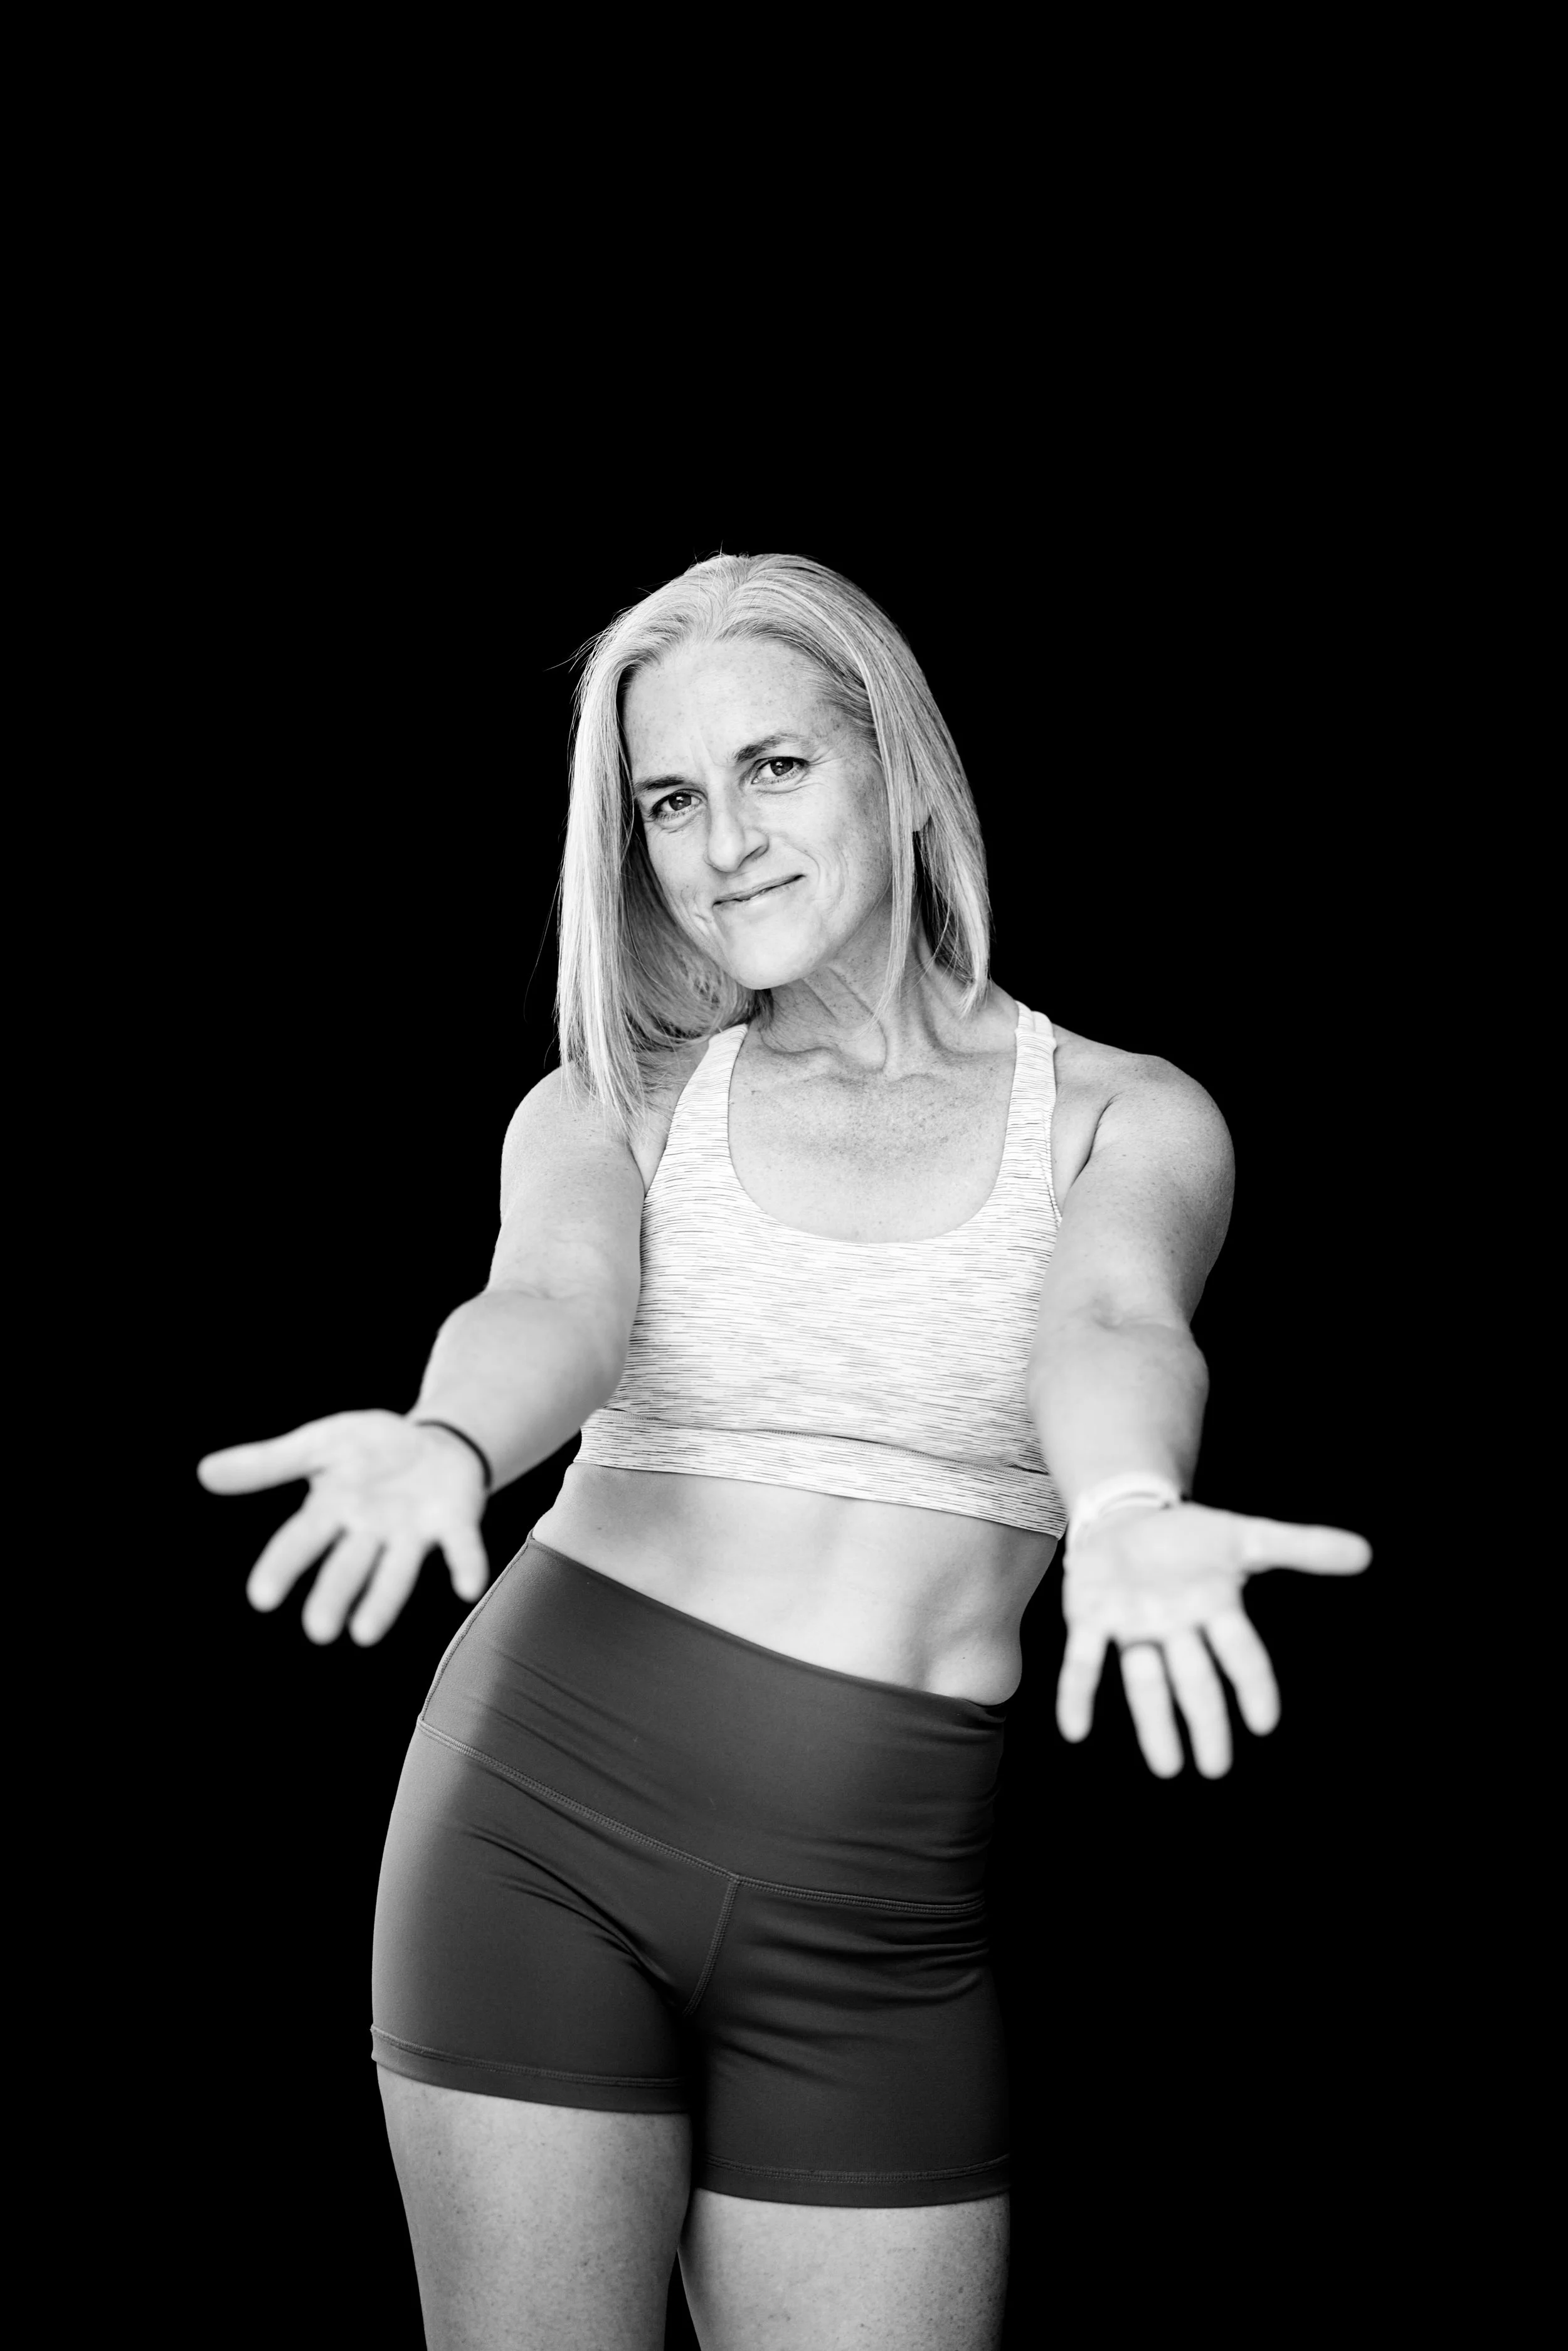
ABOUT MARY
Mary is a qualified Physiotherapist & Personal Trainer who loves movement and helping others get stronger & find confidence in their bodies.
She hit Menopause at the age of 41 and struggled through the fight of Perimenopause, coming out the other side with a wealth of knowledge and a strategy for strength training that works and keeps her & her clients consistent.
She has many qualifications under her belt and focuses on helping others improve their strength; fitness and core function in a safe, guided & supported way.
Don't miss out on free, useful information available on our social networks below. I'd love to see you there!
Check out our Instagram Feed…

RECENT BLOGS


BLOG CATEGORIES